Prusa Mini+: On the Path Towards Becoming a Maker…
Recently an eagerly expected parcel has shown up at my doorstep. Within: an amazing piece of Lego for grown-ups. Or to be more specific an assembly-kit for the Prusa Mini+ 3d printer.
For those who have come into contact with 3d printing in the past, Prusa might be a familiar name. They are a Prague based business building quality fused filament fabrication printers. Meaning they use spools of filament and push it through an extruder where the filament is heated up to over 200 degrees Celsius. Thanks to highly accurate motors moving the extruder around, the anticipated object is built up layer by layer.
Rather unsurprisingly there are a lot of different vendors building similar printers. Ultimaker as a more expensive option targeted at the industry comes to my mind. On the other end of the price spectrum there are companies like Creality offering printers are incredibly low prices. Prusa lands somewhere in the middle but comes with loads of benefits. Speaking of those benefits, they are also the reason why I went with one from our neighbours in the Czech Republic. Their products have a reputation for a high printing quality compared to the prices they are sold at. Compared to others the noise levels are also lower and they by default come with features like auto levelling. Additionally Prusa provides a great out of the box experience with good documentation, availability of replacement parts (here and here) and a great community. They also sell their own filament (accordingly named prusament) and package all that up with an open source software package. After setting up such a printer, the first object of choice supposedly can be printed immediately without any adjustments. Although in many cases with such high expectations, the danger of ending up disappointed is high, I can definitely say the opposite is the case. So far my Prusa printer has kept all these promises and more!
Assembly
The two most common printers from Prusa come in an assembled and a kit version. I initially ordered the assembly-kit for the Prusa Mini+ (at 379€) simply because I was hoping to receive it sooner. If I had read the product page more closely I probably would have figured out that the opposite is the case. Currently (12th of April, 2021) the kit takes about three months to be shipped, whereas the assembly printer is shipped within about three to four weeks. Nevertheless, the assembly process is a lot of fun and very well documented. I was quite careful with some of the steps which is why it took me about six hours in total to assemble the printer. The only complaint I could have is that the small package of Haribo included with every printer, is not enough for this time-frame ;).
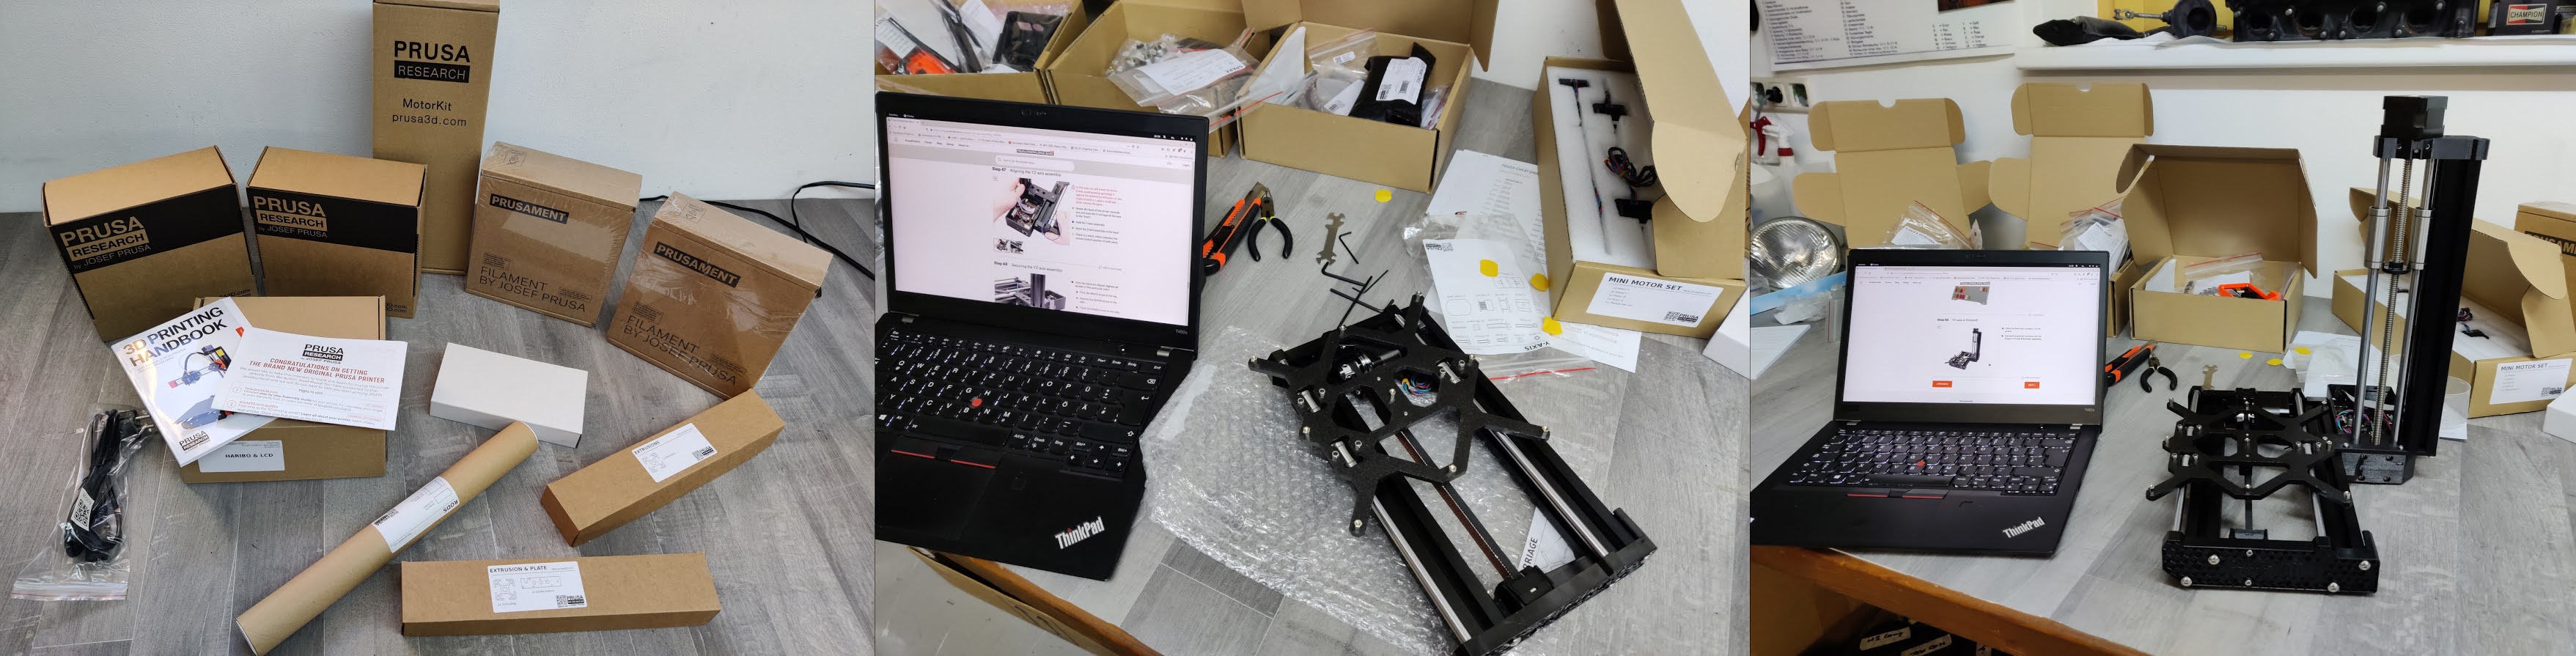
The first picture shows an overview of all the packages included in the parcel as well as the two additional spools of PETG filament I ordered. The boxes all have labels which the build instructions refer to during certain build steps. All screws and parts are sorted into separate bags and referenced in the guide at the correct time at which one is supposed to use them. There is also a bag with a significant amount of replacement screws and nuts.
The first build steps focus on building the Y- and Z-axis. This is one of the places where I was quite careful, since I assumed the bearings and belt would have a direct effect on how well the final printer would work. Fortunately even without being this reluctant, the build should turn out fine as the detailed guide describes exactly what to do in each of the steps.
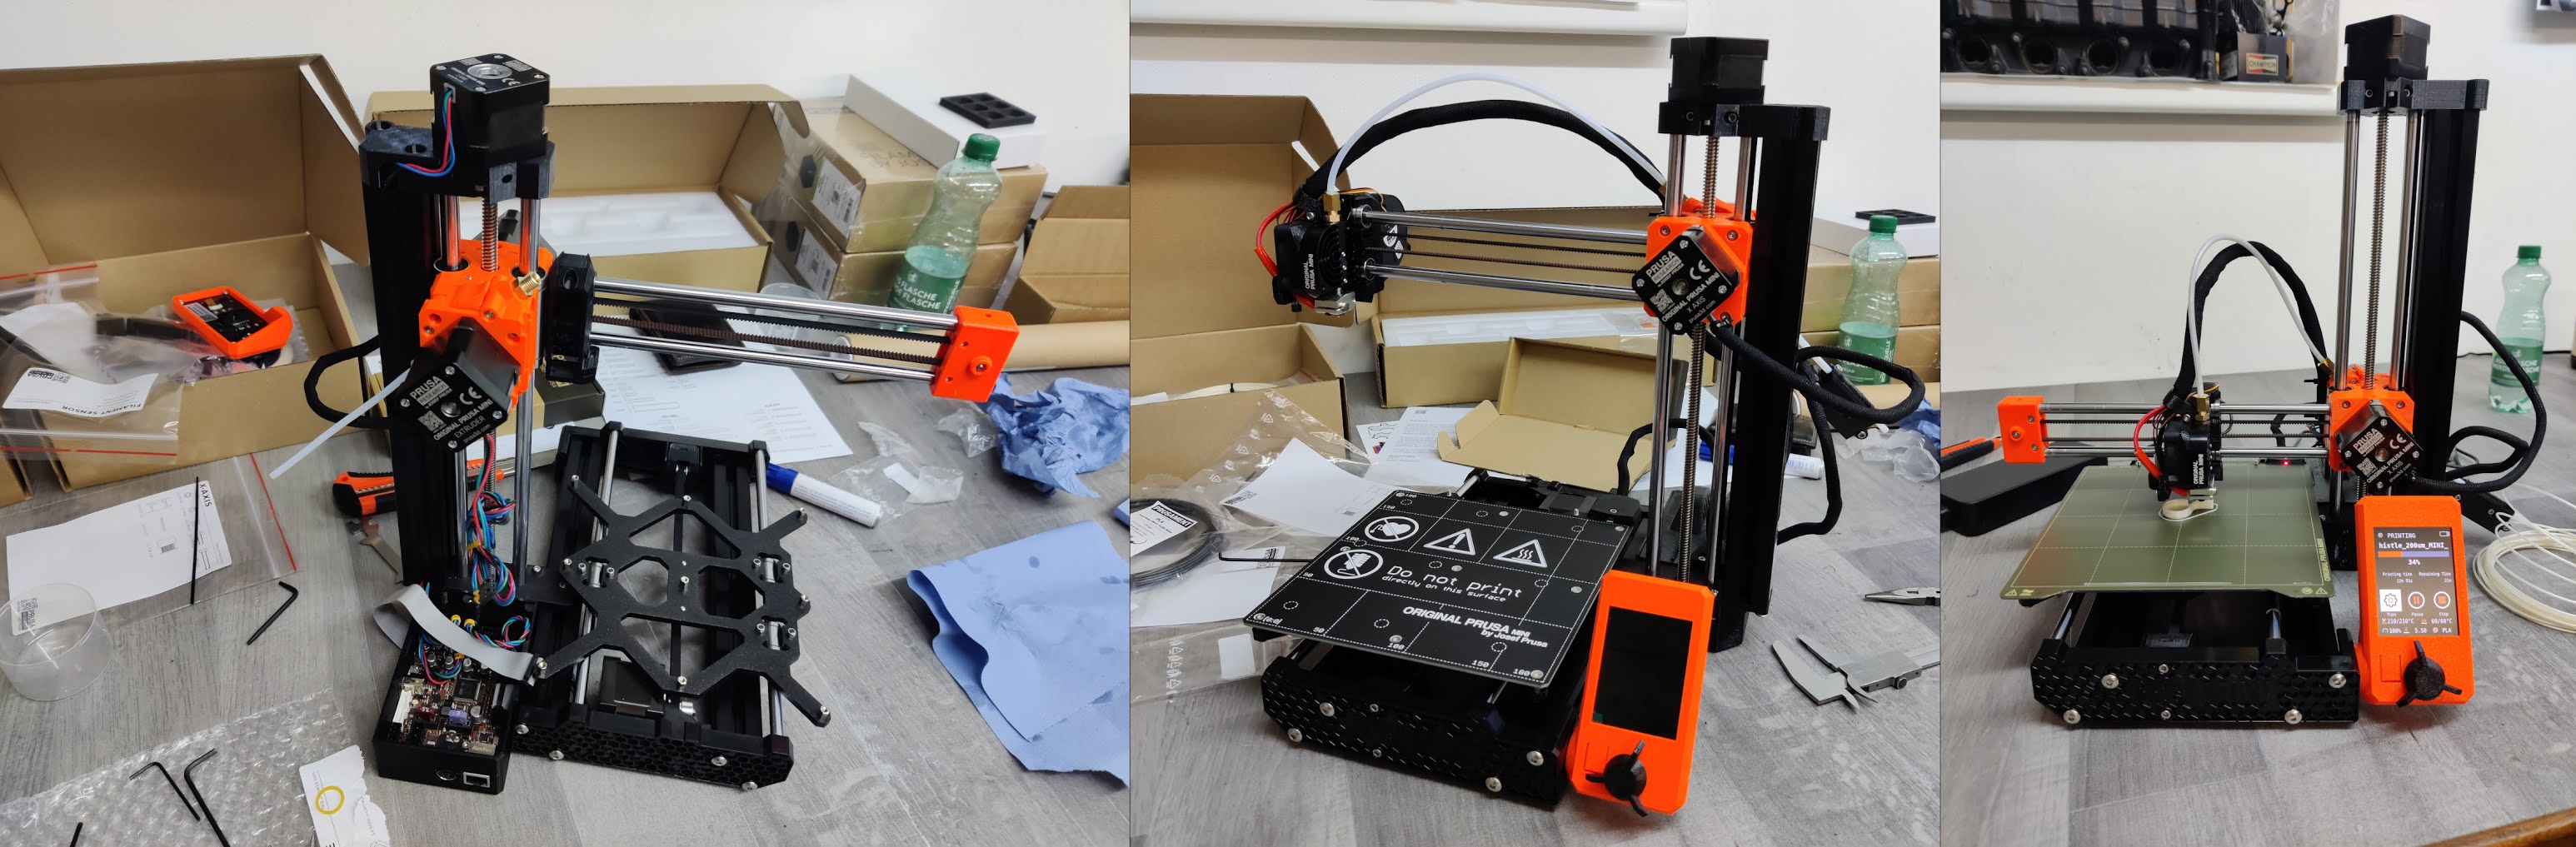
The second evening already progressed quite a bit faster with the remaining parts being mounted and the printer calibrated. Calibration sounds annoying, but in fact it’s all automated. Only the extruder height has to be manually adjusted through a wizard on the included display unit. This being done in a minute or so, the first print had been finished within the same evening.
Printing
While designing models is relatively approachable with tools like Fusion 360 or online platforms like onshape.com, in a lot of cases somebody else has already uploaded a well designed model on either prusaprinters.com or thingiverse.com.

Of course printing these has been exciting, but even more so was the first time where I could enjoy the real benefit of 3d printing. My brothers restoration project of a Kawasaki Z650 had a wonky mount for the gas tank. Thanks to about a minute spent in Fusion 360 we were able to print extensions which perfectly fit and had resolved the issue on a Sunday morning.
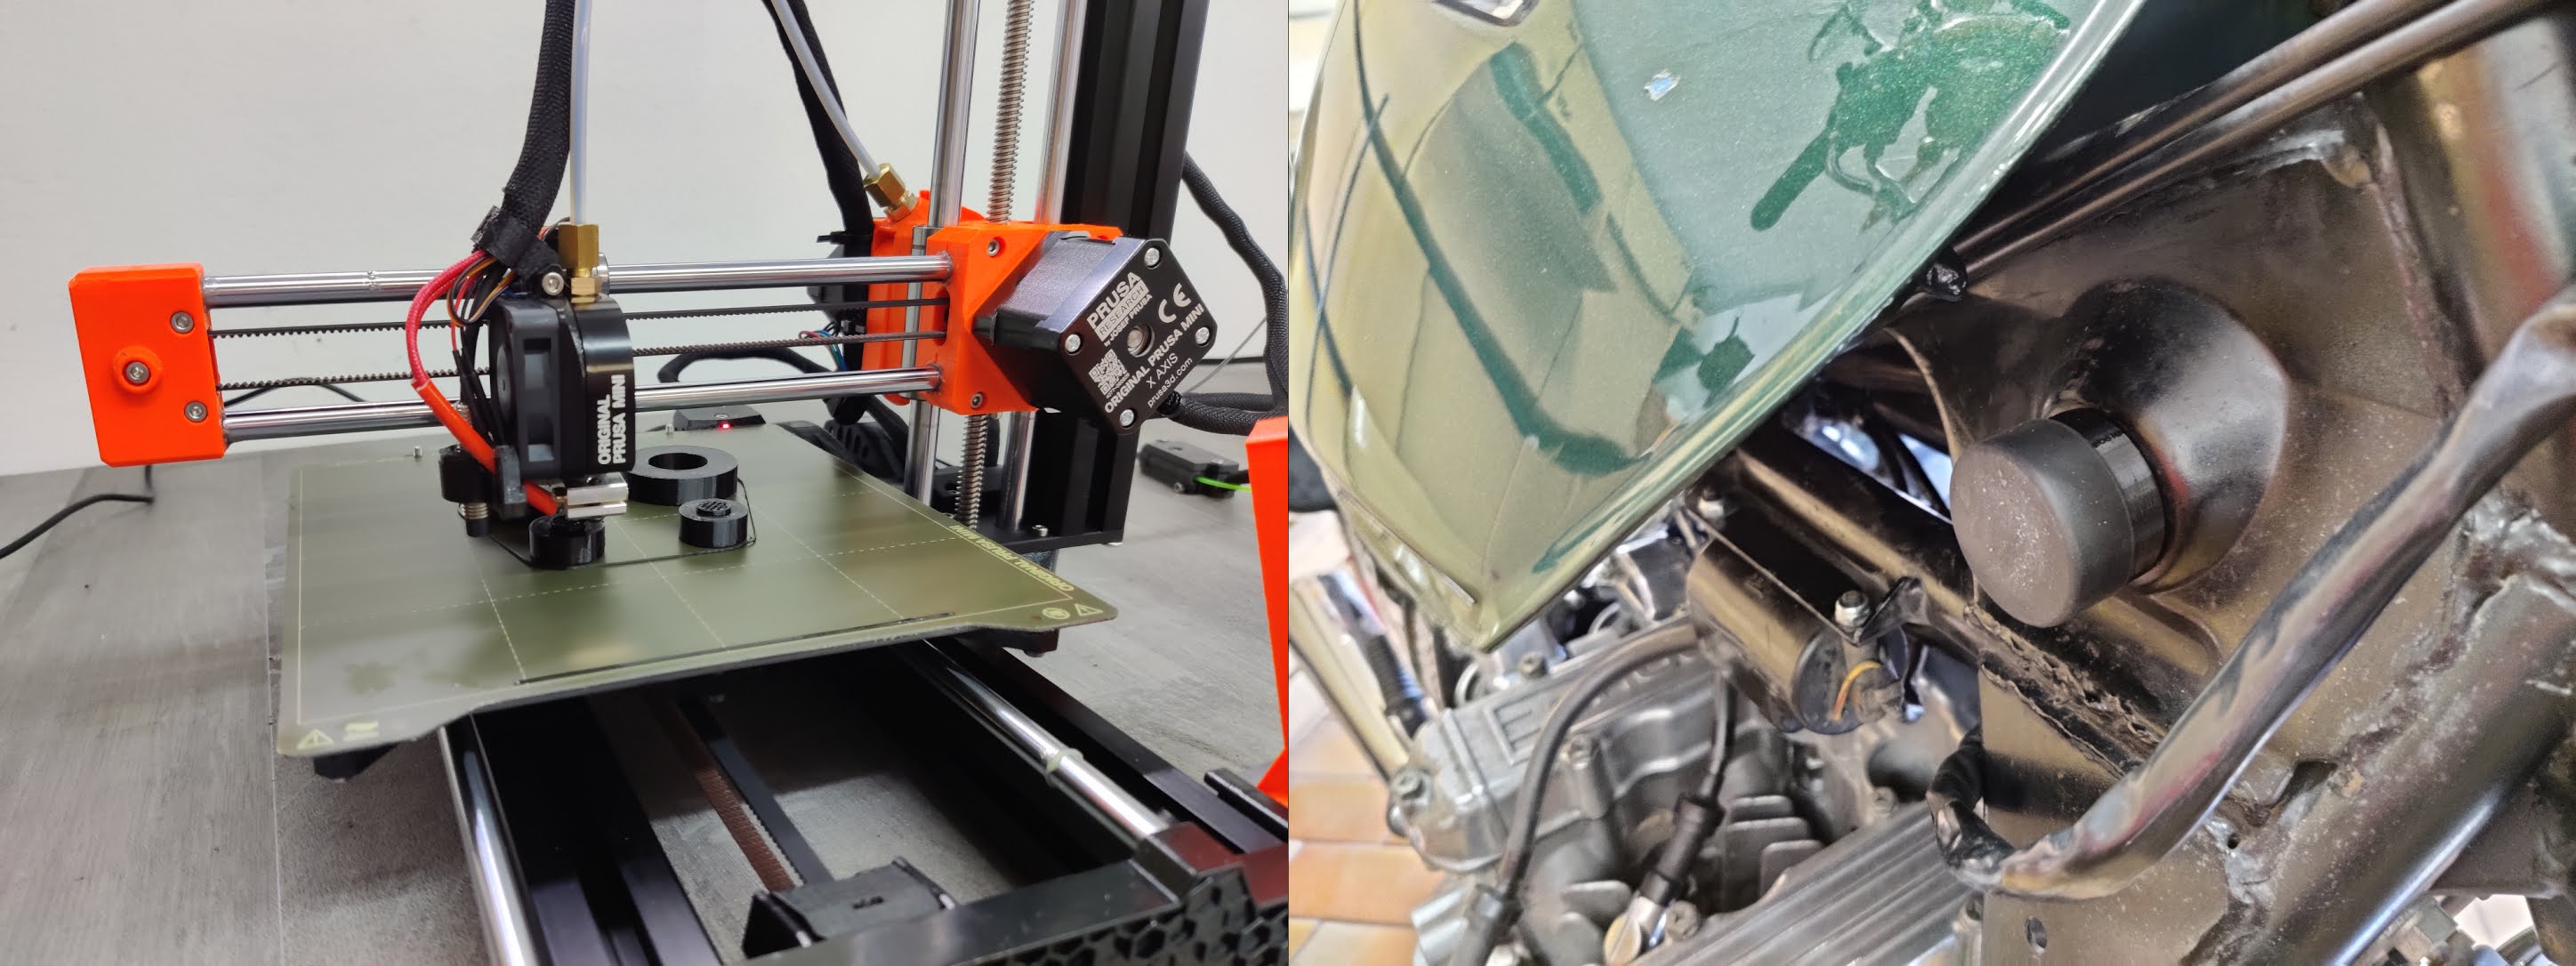
In general 3d printing seems to be perfect for prototyping and the repair/DIY movement.
Verdict
After a few weeks of working with the Prusa Mini+ I am still excited about all the opportunities and quite happy with the objects I printed so far. The quality of the results is outstanding compared to those produced by other (cheaper) printers I’ve seen in the past. The whole experience with the community, software and documentation has also been stellar. If I had to criticize anything it would only be about the long shipping time and the small-ish maximum dimensions (180mm on all axis) of the Prusa Mini+ compared to the competition.
Speaking of all the excitement about 3d printing. Also check out Alexandre Chappel’s YouTube channel where he combines craftsmanship and engineering with 3d printing. He is actually the reason why I finally pressed the order button in the Prusa shop and got a printer myself…